visual alarms.
What To Do In The Event Of A Disk Drive Failure
The internal components of the G-SPEED Q continually
monitor the health of each of the disk drives. In the event of a
disk failure, a visual alarm will appear.
NOTE: If G-SPEED Q was congured in a protected RAID
mode (RAID 5), a drive failure will not result in data loss.
However, the array is now in an unprotected state and the
failed drive should be replaced as soon as possible to avoid
data loss. If G-SPEED Q is congured as RAID 0, there will be
data loss.
Follow the steps below to identify and replace a failed drive.
1. Locate the malfunctioning drive by visually inspecting the
drive modules. If an amber LED is lit for a drive, it is the one
that has failed.
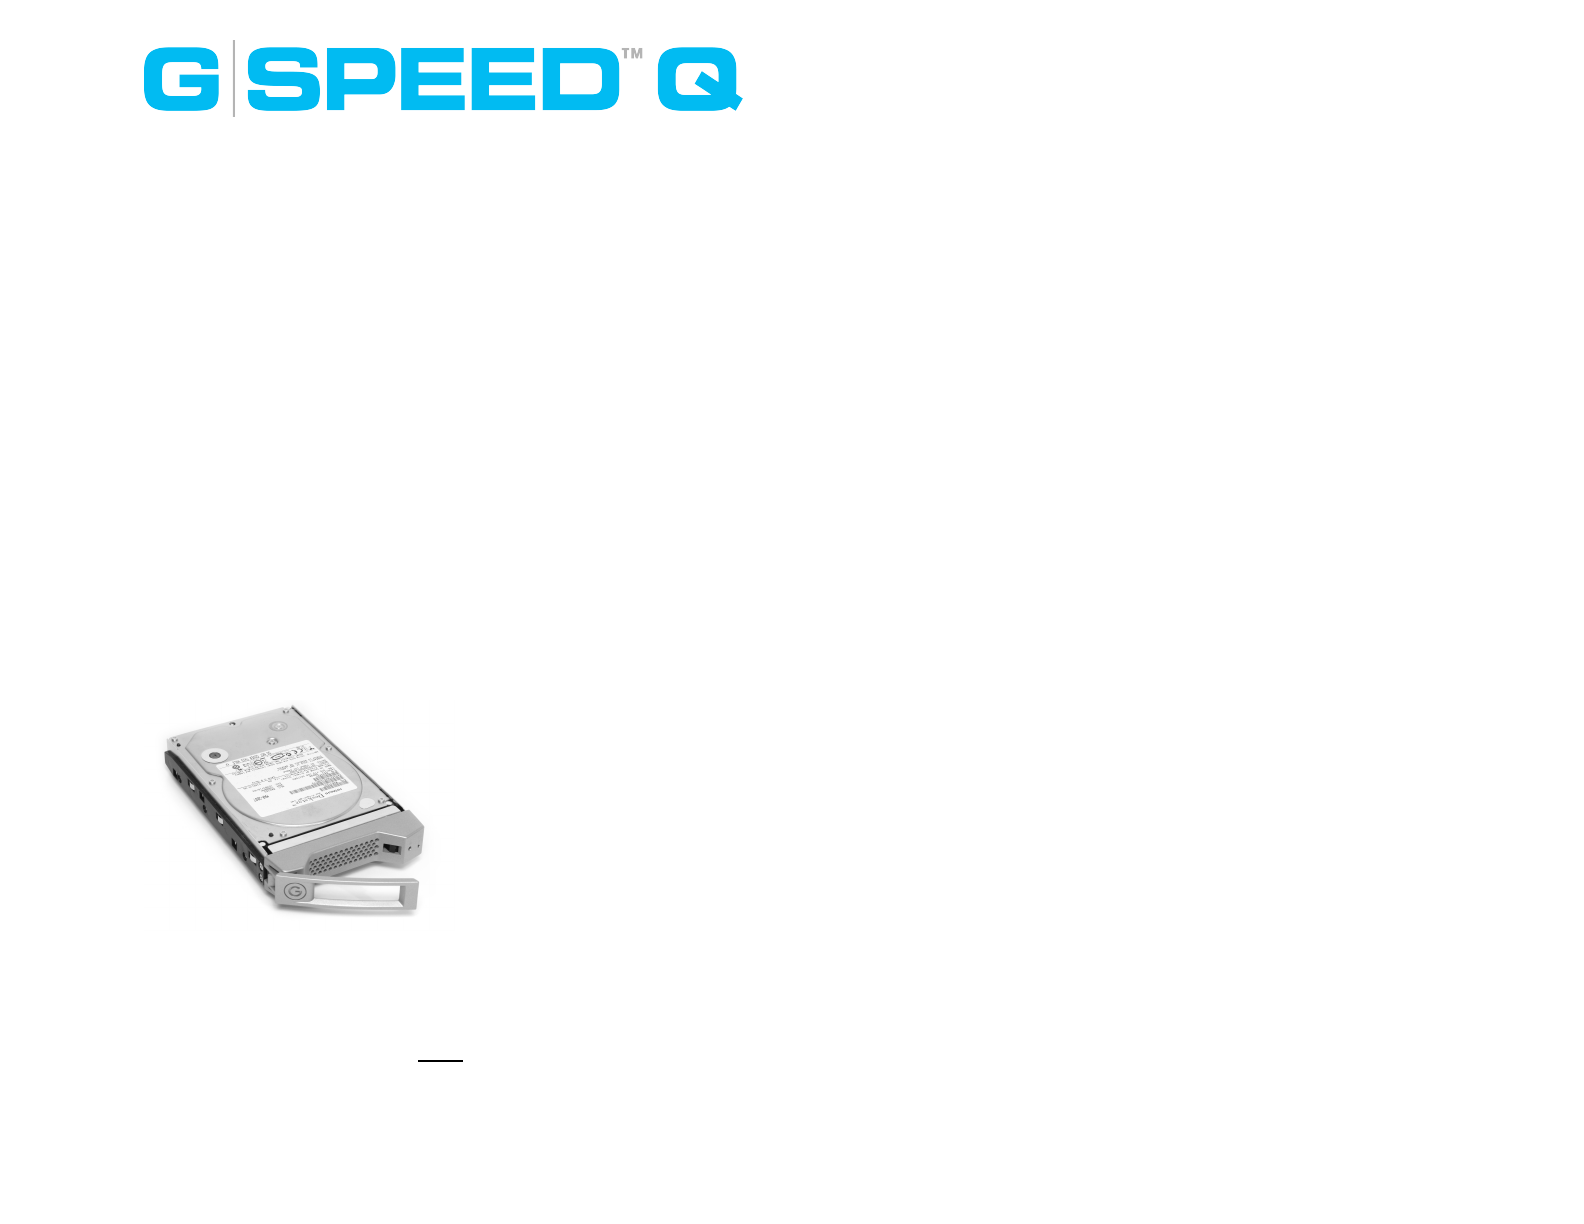
2. Remove the failed drive
by inserting the provided
key in to the lock hole and
gently sliding the drive
module out of the
enclosure.
WARNING: REMOVING THE
WRONG DRIVE WILL RESULT
IN THE LOSS OF THE ARRAY
AND ALL OF THE CONTENT STORED ON G-SPEED Q.
4. Replace the failed drive with a new disk module (new drive
modules can be purchased here) and secure it in place. Once
the drive has spun up to speed, the drive will indicate that the
array is rebuilding. The rebuild time is approximately 2 hours
per TB.
Note: You can continue using the G-SPEED Q even while the
volume is being rebuilt, albeit at slower data rates.
5. Once the rebuild is complete, G-SPEED Q is back to Normal
and protecting your valuable data once again.
Note: It is good practice to keep at least one spare drive
module on hand in case of a disk failure. This way, you can
rebuild your array in hours rather than wait days for a new
one to ship to you.
Disconnecting G-SPEED Q
A great feature of G-SPEED Q is its ability to be connected
and disconnected while your computer is running. To
prevent failures and/or data loss it is important to follow the
steps below when disconnecting or “unmounting” the G-
SPEED Q from your computer.
1. Before powering down and disconnecting G-SPEED Q, you
must unmount the system by simply dragging the G-SPEED Q
icon to the trash located in the dock.
2. It is now safe to power off and remove G-SPEED Q from
your system.
Note: you can also mount and unmount the G-SPEED Q in
Apple Disk Utility.
11
 (36 pages)
 Manymanuals.com
 Manymanuals.de
 Manymanuals.fr
 Manymanuals.it
 Manymanuals.pl
 Manymanuals.cz
 Manymanuals.es
 Manymanuals-pt.com
Comments to this Manuals